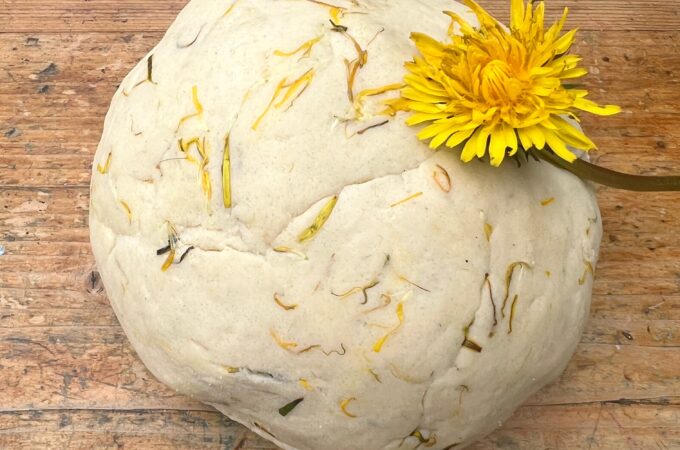
Try this all natural dandelion play dough recipe as a fun way to explore nature and sensory play together! It's Spring (at last) and it's the ...
Creative play and learning for kids
Try this all natural dandelion play dough recipe as a fun way to explore nature and sensory play together! It's Spring (at last) and it's the ...
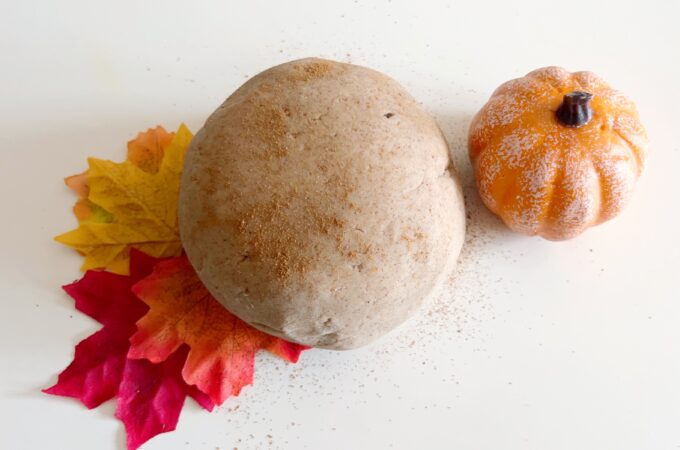
Here is an easy pumpkin pie play dough recipe that you can make in just 4 minutes! It's that time of year again when the days are getting shorter ...
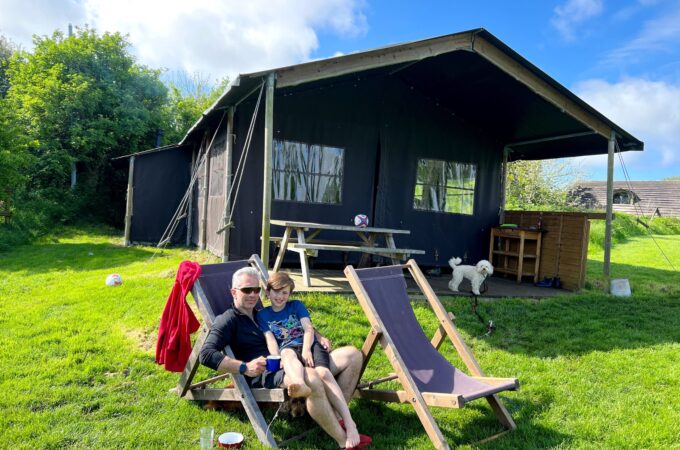
We were recently invited to visit a Featherdown Farm with our children ages 8, 11, 13 and 14 having once visited exactly 10 years ago (see the review ...