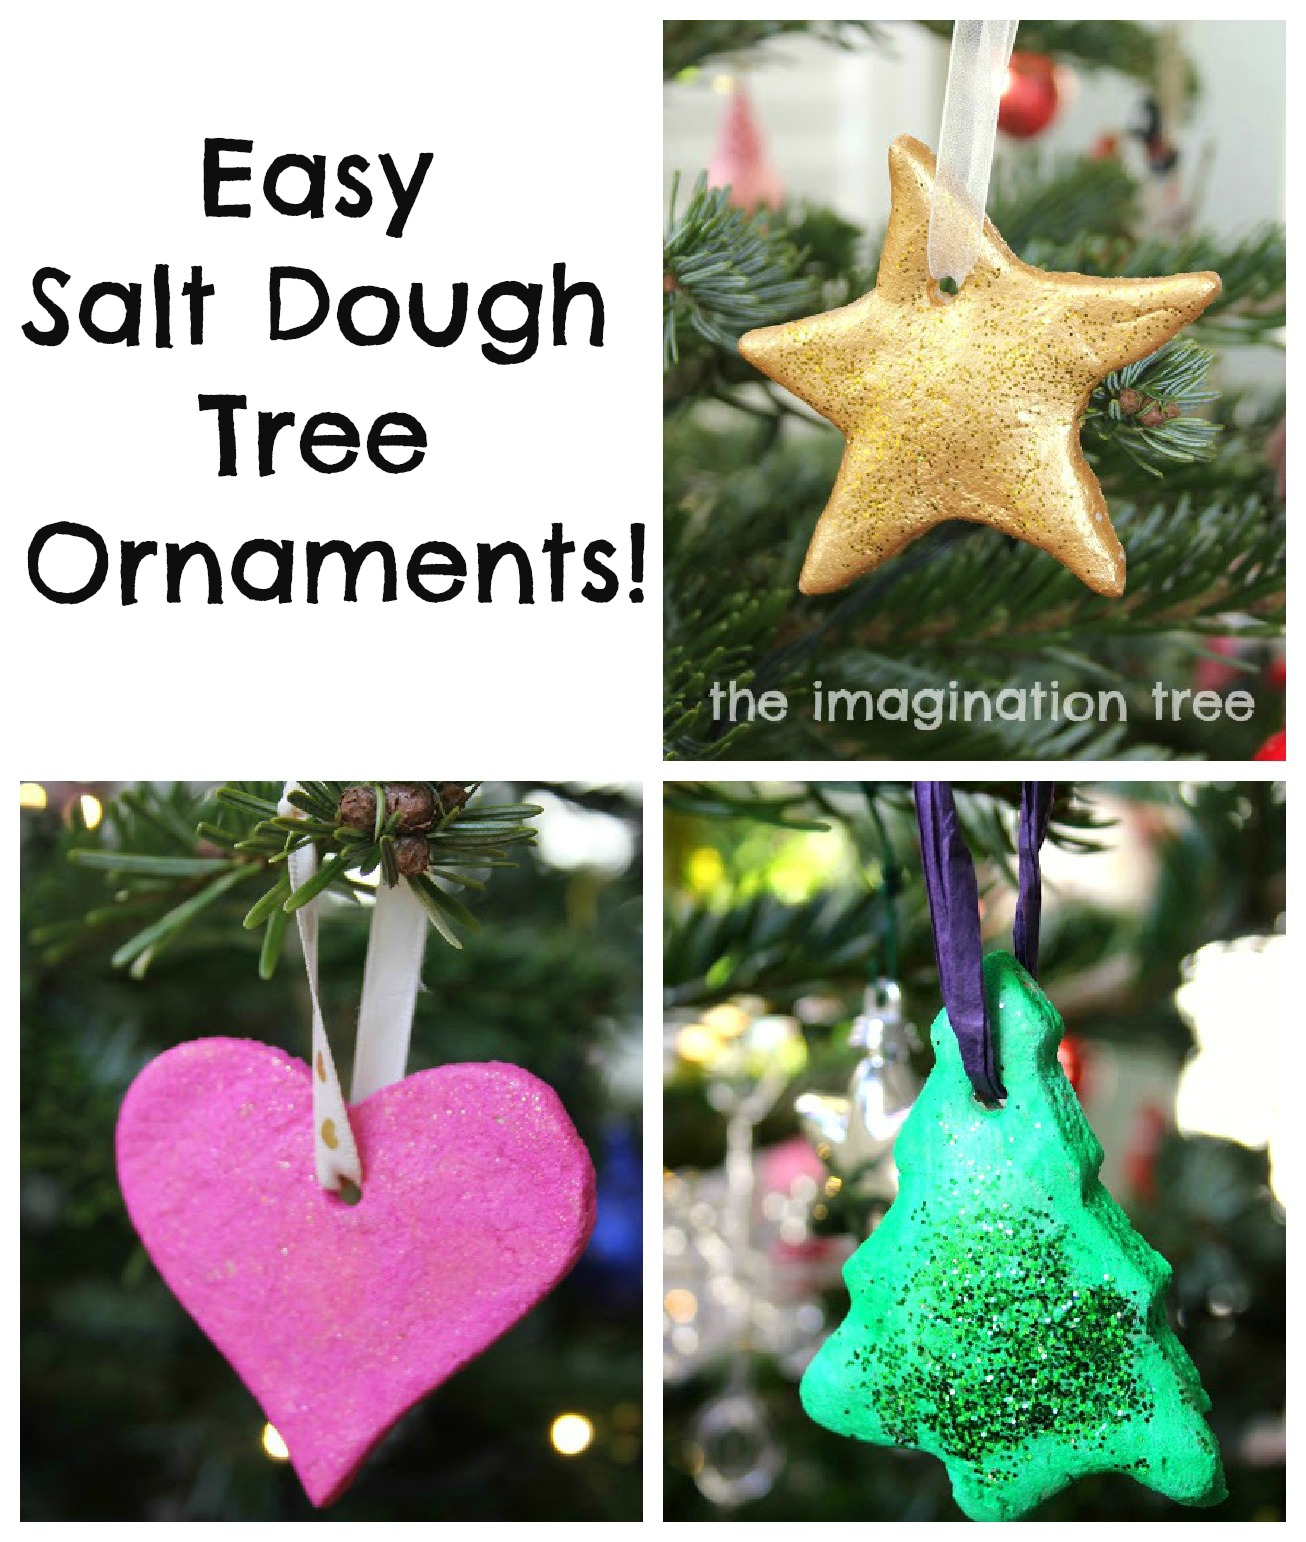

How to make salt dough:
- 1 cup salt
- 1 cup plain flour
- Up to 1 cup of water (add gradually)
Method:
- Combine the salt and flour then pour in the water gradually, stopping when it has become dough-like and not too sticky. There should be no residue left on your fingers when you touch it. Knead it on a floured surface for a few minutes to make it soft, workable and stretchy, like you would with any dough. This step is wonderful for strengthening those small hand muscles essential for writing and cutting!
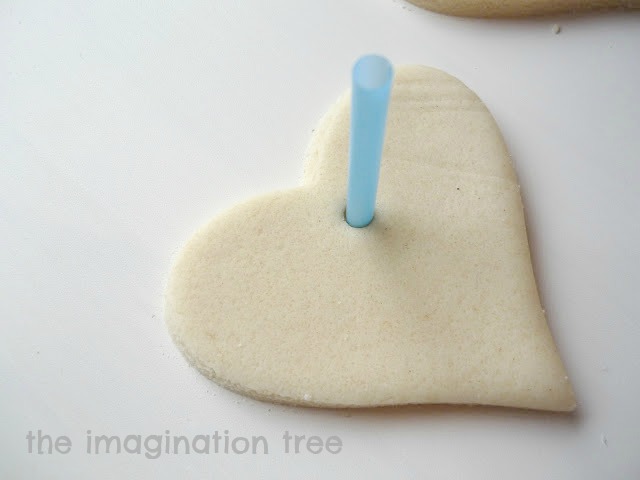
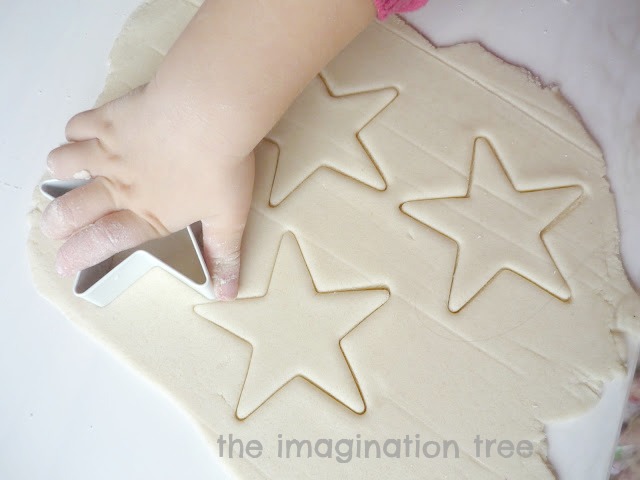
Choose a range of cookie cutter shapes and simply cut straight from the dough. We used Christmas trees, stars and hearts. Poke a straw through the centre, near the top, of each shape so that ribbon can be threaded through later.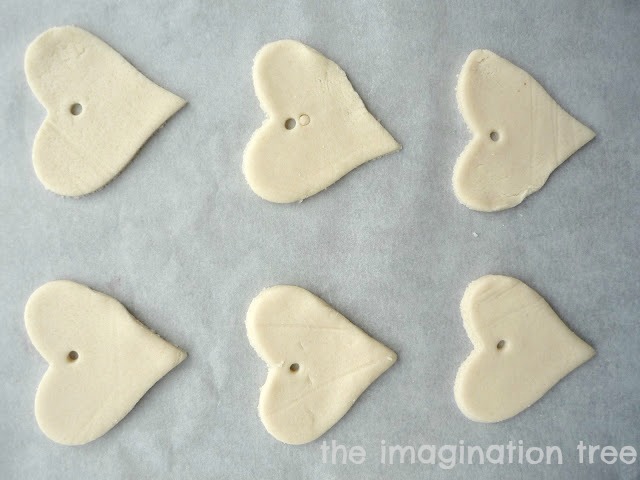
Lay them on some greaseproof or baking paper and on a baking tray. Cook them on a VERY low heat (around 100 degrees C/ 202 F) for up to 3 hours. If the shapes are over 1cm thick then they will probably need to be turned over during cooking.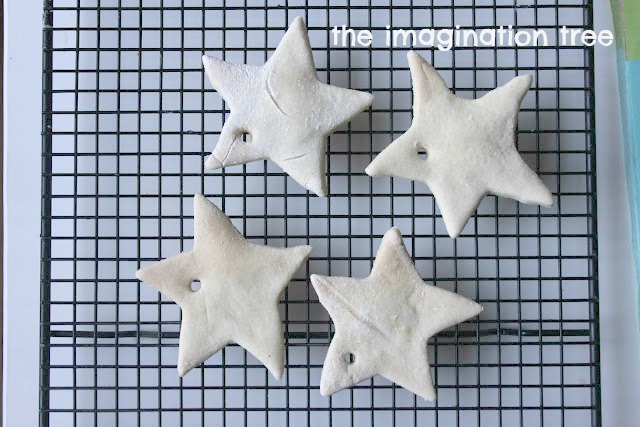
It is VERY important not to have the oven on too high. This will cause the salt dough to bubble up and fill with air, as essentially it is being cooked. What you are really aiming for is to dry them out thoroughly, over a slow period of time.

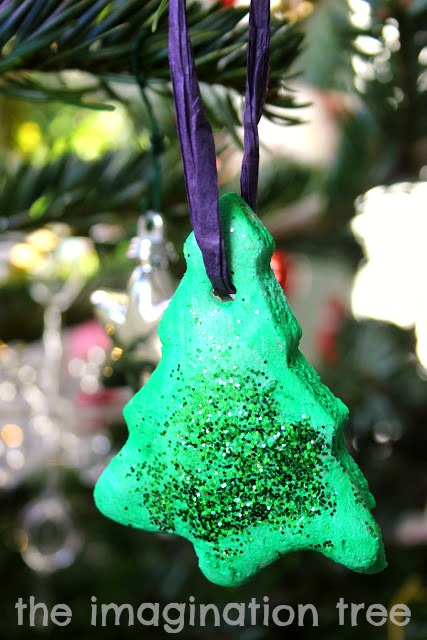
As soon as they are out of the oven they can be left to cool while your child chooses which colours and decorations to add! We used acrylic paints which adhere to the dough really successfully. Ordinary water-based children’s paint does work, but the colours are not as vibrant and the paint can flake off eventually. The acrylics work as a sealant and keep the colours strong and beautiful!

Once the paint is dry, spread on some PVA (runny) glue and sprinkle over some glitter for a wonderfully Christmassy effect!
We have also tried adding sequins and buttons, which make gorgeous alternatives!

When they are dry, thread through with thin ribbon or twine and hang on the tree! You can write the date in the back to remember when they were made too, adding a special memory to the occasion.

If you liked this idea, please share it via Facebook, StumbleUpon, Pinterest or Tumblr! Thank You.
Why not try making footprint and handprint keepsakes too?
You may also like:
20+ Christmas and Winter Activities for Kids!
Enter your email address:
Delivered by FeedBurner
Might go make these now but wondering if I mixed some normal kids paint with pva will it work ok for sticking to them to as we don’t have any acrylic here
These are gorgeous – we’re still not good at the rolling pin so use the hand pat method for flattening the dough.
If you put the dough between two pieces of wax papers it very easy to roll out.
I am a new follower and I just linked up to It’s Playtime for the first time. I definitely want to make salt dough ornaments with my little boy before Christmas!
Sierra
his4homeschooling.blogspot.com
I remember making these when *I* was a kid! So much fun and they are beautiful.
We are half way through making these today!!!! Have also had the children make one as a necklace for me for Christmas
Ahh what a lovely idea Jo!
Hi Jo (stars and a swirl), I do hope you got my email reply! If not the answer is YES, but I don’t know the ratio. Probably about 1/3 glue to 2/3 paint? Hope it works out!
would this method also work if i wanted to do hand prints in the dough before baking them? could i add food coloring to the dough before baking them instead of painting them?
Hi April! Yes absolutely ! We love to do hand prints and foot prints. You can see our most recent footprint post here. https://theimaginationtree.com/2011/06/salt-dough-footprint-keepsakes.html Either copy and paste this into your browser or type “salt dough footprints” into the search box (on the right in the sidebar) and you can see our post on them. You can colour the salt dough before hand for a more subtle, natural look.
Gorgeous! my son brought one home from nursery this year and it is adorable. I LOVE yours, they all fantastic. Can’t wait for us to have a go (next year – we made so many other things this year!!!)
Thanks for sharing on Kids Get Crafty 🙂
Maggy
I teach a Fine Arts Survey class and we used this dough to make ornaments two weeks ago. I added cinnamon and we let the ornaments air dry over the weekend. I turned them on Saturday since I had basketball duty and was there anyway. After the kids painted them in the style of an artist we had studied, my husband and I sprayed them (outside, of course) with a glossy sealant. Beautiful!
How many ornaments can you get out of 1 recipe??
Love this! I was looking all over for salt dough recipes, and everyone I’ve seen is either missing measurements, or the measurements are all off. This was perfect! (we made hand prints for fathers day 🙂
Can you tell me if this salt dough would be good for outside use? Such as on windchimes? Maybe if it was sprayed with a laquer for the outside conditions?
I don’t think it would last ling as it is essentially a dough mixture. But you could try with the laquer! Still don’t think it would work sorry
will dogs try to eat them mine will eat anything
Oh my, I havent used salt dough since I was little! Seeing your cute ornaments I really should start making some with my little one!
Love these ideas…thanks for sharing
Have these on the list for this weekend. Thanks for the mant tips! Happy holidays!
Have these on the list for this weekend. Thanks for the mant tips! Happy holidays!
I found this recipe on pinterest and gave it a try with my two little ones (4 & 2) today. They LOVED rolling and playing with the dough. We were able to make 20 smaller sized ornaments with one batch. Some we cut out with regular cookie cutter shapes, and some we used rubber stamps to make impressions on (and then used a small cup to make a circle ornament). Kid craft paint seems to work on the ornaments, and watercolor paint looks really good on the stamped ornaments (the watercolor highlights the stamped design). I plan to coat them in modge podge. Hope it works! =)
Thanks, that’s this afternoon’s activities sorted. I love your stuff, so inspirational x
About 32 years ago my parents used this recipe to make ornaments. They added food coloring to the dough and added a school picture to the middle. (Imagine a blue circle with a picture in the middle and a smaller blue ring around the picture to make a frame like ornament) They also baked these on very low heat with the dates toothpicked in before baking. My grandmother still has these on her tree every year.
I found a recipe for the handprints salt dough ornament, an tho, the measurements were pretty accurate, there wasn’t much by way of preparing & what to put them on for baking or thickness. My boys & I made some this evening (going to be gifts for their grandparents), they’ve been in the oven now for 3 and half hours. I had taken them out at 3 hours but they were soft in the middle underside. Hoping they will be done soon. Thank you for your post, really gives me a better idea of the whole project and will be taking your insight for the next batch.
These are absolutely fabulous. Just a word or warning, think before you pack them up for next Xmas. They are basically dry but uncooked so if they get cold/ damp/ condensation they kind of disintegrate leaving a fairly unpleasant residue behind. I suggest a separate sealed bag from your other decorations.
Is there a difference between plain flour n all purpose flour? Or can I use all purpose flour to make these? Thanks
I made these today and took them out when they were hard. My son and i painted them with acrylic paint and now they seem to have softened up again. Will just air drying harden them again?
I am having the exact same problem today! Did yours harden up again? I’m afraid mine are all going to have to go in the bin 🙁
I’m having the same problem! They were hard when I took them out. We painted them and then today went to do the glitter and they are all soft in the middle!
Curious how things ended up for others… did they get hard or did you have to scrap them?
I used this method to make a hand print of my daughters hand but when we were baking it it began to puff up and crust. What am I doing wrong and how can I avoid this problem. I work for a daycare and I am the infant teacher. I was hoping to make baby footprints for the parents as this is each of the babies 1st Christmas. I would hate to go through the process of getting the prints only to have them ruined.
If you want them to be flat use a tooth pick poke wholes in it. If you paint it the wholes wont show up but if you leave it natural you will see the wholes.
Mine are in the oven now. My two year old loved helping. Hope I didn’t make them too thin though.
Can you put glitter directly in the dough or will that mess up the balance? I would also like to add cinnamon if possible…
A word to the wise….do NOT use shellac to coat these. I tried it, and I don’t know if it was the interaction with the dough or with the acrylic paint, but the shellac never dried.
Thanks for the recipe, I’m going to try and make gold hearts as pew ends for my wedding so I did a test batch tonight and they’re very easy to do.
I’ve featured this activity in my latest Craftulate blog post on Larder Crafts for Toddlers. You’re welcome to see it here http://craftulate.blogspot.com/2013/02/30-larder-crafts-for-toddlers.html – please grab a Featured Button if you’d like to. Thanks for the inspiration!